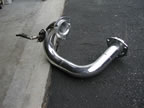
Chrome dump pipe |
To see the design drawing of the pipe, click
here.
P9040043.JPG |
P9040044.JPG |
P9040048.JPG |
P9040053.JPG |

P9040054.JPG |
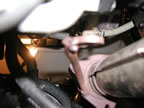
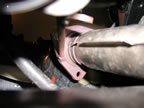
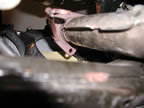
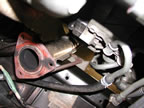
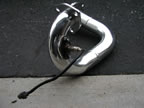
The pictures above show the arm that I had welded to my front pipe. This will help support the entire exhaust system. The last two pictures show how it is bolted to the transmission to get its stability. The first three pictures show a view from the bottom. It was tough to shoot those since there was so little room. But I think you get the idea.

PA070064.JPG |
PA070065.JPG |
PA070066.JPG |

PA070067.JPG |
Here is the pipe after it was cermica coated by Performance Coatings in Washington. They did a very nice job. I tried to get multiple angles on the pipe to show the shape and detail.
PA070071.JPG |
PA070072.JPG |
PA070073.JPG |
PA070074.JPG |
PA070075.JPG |
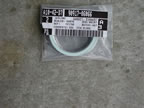
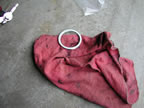
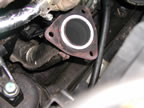
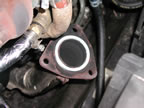
When I installed the pipe, I used a brand new Toyota exhaust gasket. These gaskets get crushed as you tighten the dump pipe to the front pipe. The last two pictures show how they are installed. Lay them on the top of the front pipe and install the dump pipe.
PA070076.JPG |
PA070077.JPG |
PA070078.JPG |
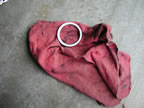
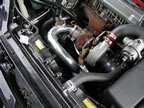
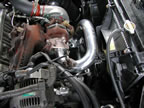
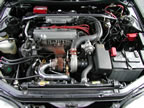
With the pipe installed... The clearence between the dump pipe and the radiator shroud was a little tight. But after a significant test period there are no side affects from them being close together.