Installing the PanaVise® InDash™ Cellular Phone Mount in a Pontiac Fiero
Mounting location: To the right of the factory radio
Source for parts: CellularMount.com - A great source for Cellular mounting accessories!
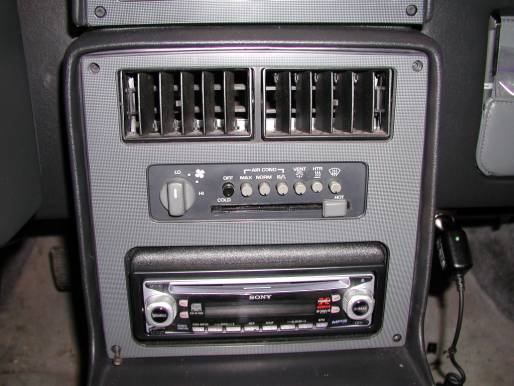
Step 1 - Remove the trim bezel that surrounds the climate control and the radio head unit. This is done by removing the four T-15 Torx screws at the four corners (see Figure 1). After the screws are removed, you will be able to pop the trim out.
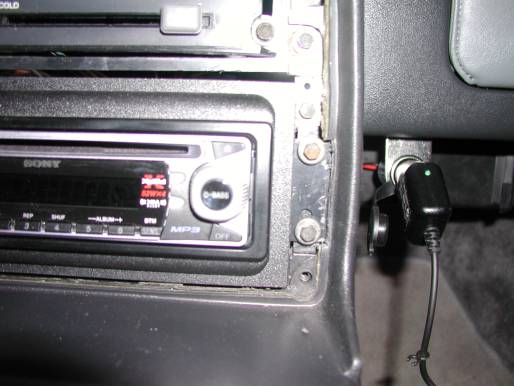
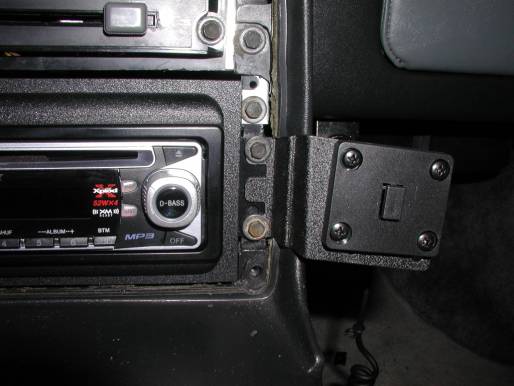
Step 2 - Remove two right-hand 7mm screws from the radio head unit (see Figure 2 ).
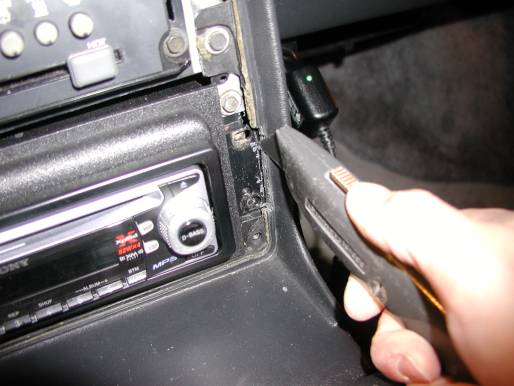
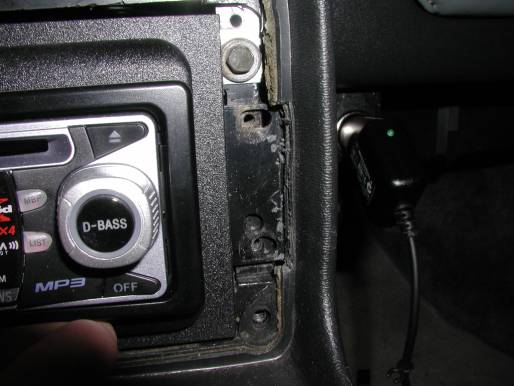
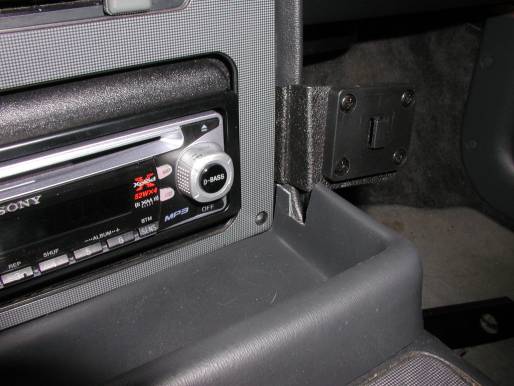
Step 3 - With the radio bracket still in place, hold the PanaVise bracket in place where it will be installed. Carefully trim back the edge of the radio surround piece to allow clearance for the PanaVise bracket to fit. (See Figure 3 and Figure 4 ). Use a sharp utility knife or Xacto blade to trim the vinyl back.
Step 4 - After a satisfactory test fit of the bracket in its final installation location, attach the cellular phone holder to the PanaVise bracket. Doing this before installing the bracket makes the installation much easier.
Step 6 - Snap the trim bezel removed in Step 1 by snapping it into place, then replacing the four T-15 Torx screws at each corner.
Step 7 - Optional: If you have a console tray (available from the Fiero Store), you will need to notch it to allow room for the PanaVise bracket. See Figure 6 .
Final installed pictures:
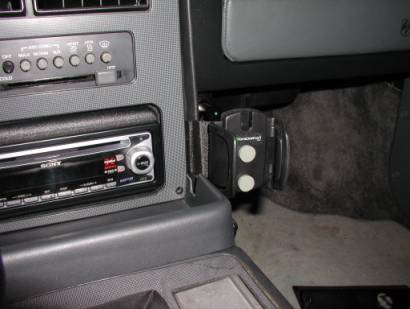
Figure 7
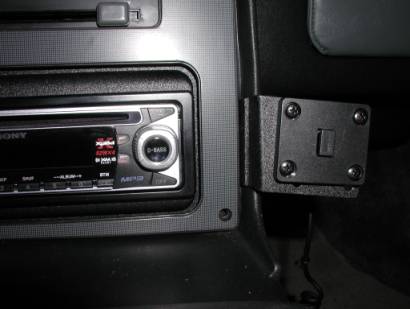
Figure 8
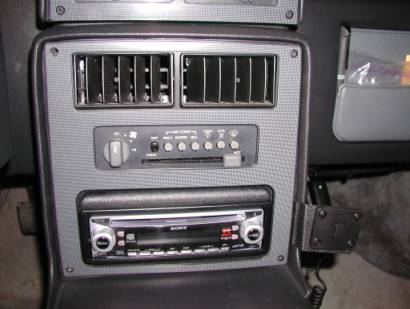
Figure 9